
Introduction
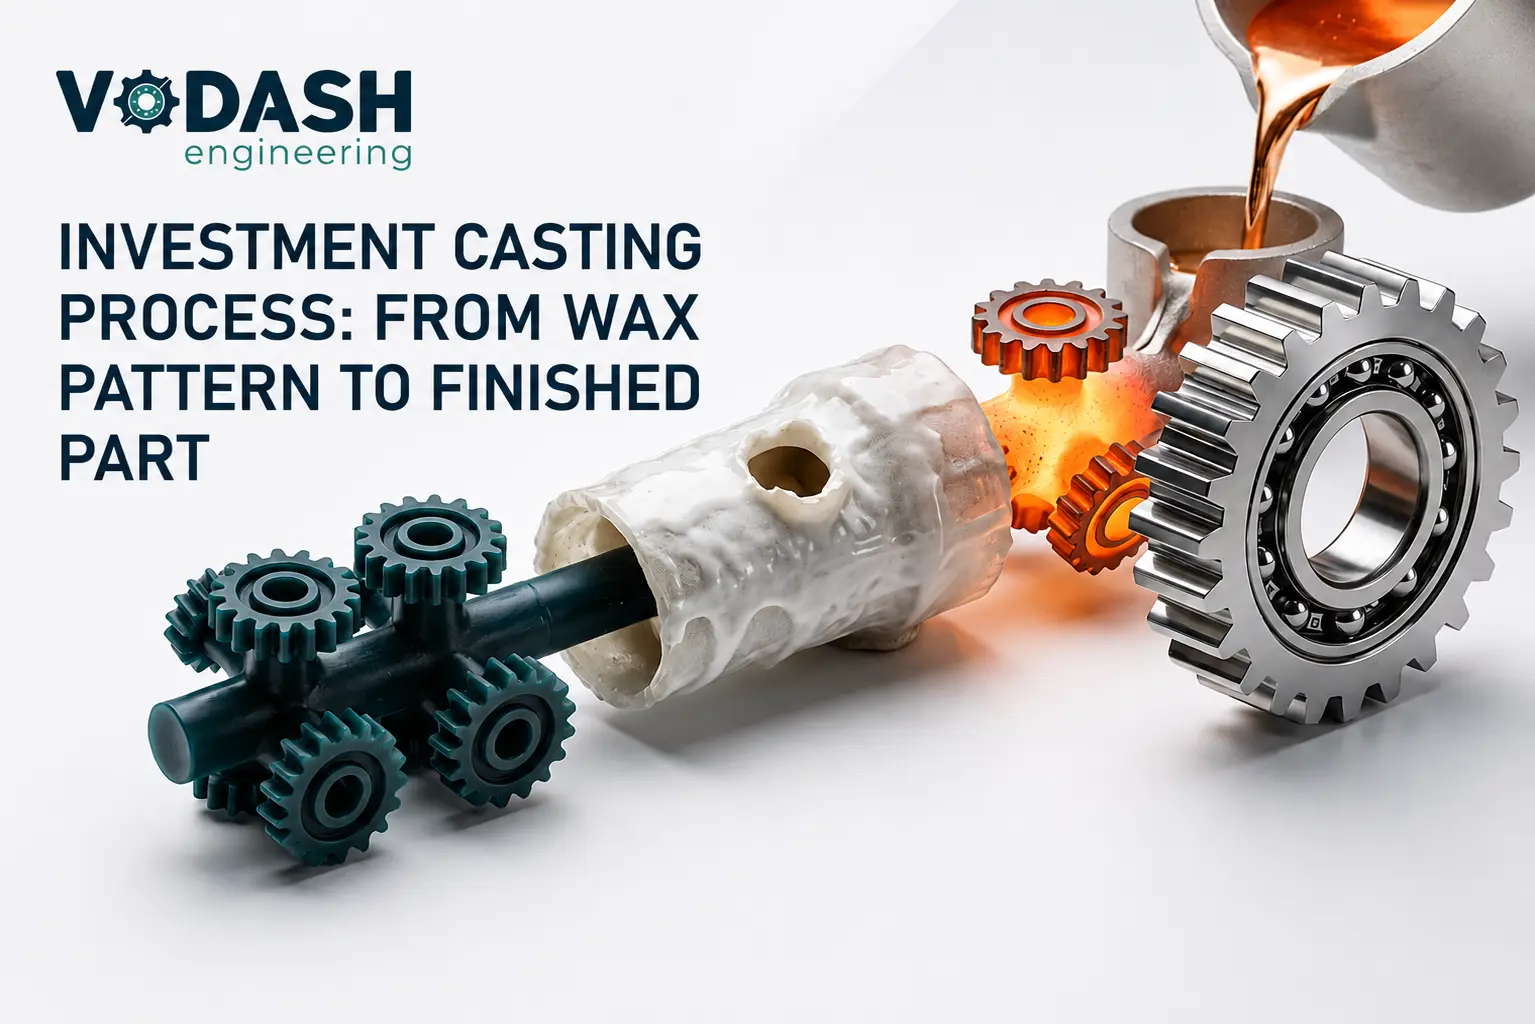
If you’ve ever wondered how manufacturers produce metal parts with intricate details and tight tolerances without machining every feature by hand, the answer is usually investment casting. Also called the lost-wax casting process, it’s a method that starts, almost surprisingly, with a piece of wax and ends with a finished metal component.
What sets it apart from most conventional casting methods is how faithfully it reproduces detail. Fine features, smooth surfaces, complex geometries – investment casting handles all of it well, which is exactly why it turns up so often in industrial machinery, pumps, valves, and automotive components.
So how does a wax pattern actually turn into a metal part? It happens across several stages, each one controlled fairly precisely, from shaping the original pattern to pouring metal and finally inspecting the finished piece.
What Investment Casting Actually Involves
At its core, investment casting works by using a wax pattern to build a ceramic mould. The wax gets coated in layers of ceramic material until it’s encased in a strong shell.
Once that shell is built, the wax is melted out, leaving behind a cavity in the exact shape of the part. Molten metal fills that cavity, and once it cools and hardens, the ceramic shell is broken away to reveal the casting underneath.
Walking Through the Process, Step by Step
1. Making the Wax Pattern
Everything begins with a wax pattern shaped like the final part. Wax gets injected into a purpose-built metal die to form this pattern.
This step matters more than it might seem – whatever accuracy the wax pattern has (or doesn’t have) carries straight through to the final casting. Holes, curves, ribs, fine details all need to come through cleanly here.
For larger production runs, the same tooling can produce multiple wax patterns, which keeps components consistent from one batch to the next.
2. Assembling the Patterns
Individual wax patterns get attached to a central wax runner, forming what’s usually called a casting tree.
Building it this way means several components can be cast in a single cycle rather than one at a time. Getting the layout right matters too – the patterns need to sit in a position that lets molten metal flow smoothly into every cavity.
A well-built assembly also makes the cutting and finishing work later on considerably easier.
3. Building Up the Ceramic Shell
Once the pattern tree is assembled, it’s coated with ceramic – repeatedly.
The whole assembly gets dipped into a ceramic slurry, then covered with a fine refractory layer. Once that dries, another layer goes on. This repeats until the shell builds up enough thickness and strength to do its job.
That shell essentially becomes the mould, so its quality has a direct effect on how good the final surface finish and dimensional accuracy turn out.
4. Getting Rid of the Wax
With the shell built and dried, the wax inside has to go.
Heat does the work here – the shell is heated until the wax melts and drains out, leaving an empty cavity shaped exactly like the original pattern.
This is where the process earns its other name – lost-wax casting. In many setups, the wax that’s removed doesn’t go to waste either; it gets recovered and reused.
5. Firing the Shell
Next, the ceramic shell goes through controlled heating, which clears out any leftover wax and moisture while also toughening up the shell itself.
That strength matters because the shell has to survive the pressure and heat of molten metal during pouring. Skipping or rushing this step tends to show up later as shell damage or casting defects.
Once properly fired, the shell is ready for metal.
6. Pouring the Metal
The chosen alloy gets melted to the right temperature and poured into the ceramic shell.
Molten metal moves through the runner system and fills the cavity left behind by the wax. Which alloy gets used really comes down to what the finished part needs to do.
Materials commonly used include:
- Stainless steel
- Carbon steel
- Alloy steel
- Aluminium alloys
- Other engineering alloys as needed
The choice usually depends on strength, wear resistance, corrosion resistance, operating temperature, and the conditions the part will face in service.
7. Cooling and Solidification
Once the mould is filled, the metal is left to cool and solidify.
This stage needs to be controlled carefully – how the metal cools affects its internal structure, shrinkage, and dimensional stability. Rush it or mismanage it, and defects tend to creep in.
Once solidification is complete, the casting is ready to move forward.
8. Breaking Away the Ceramic Shell
After cooling, the ceramic shell comes off, usually through mechanical means or other suitable methods, revealing the metal casting underneath.
That said, the part isn’t finished yet at this point. It’s still attached to the runner and gate system, along with some extra material that needs trimming away.
9. Cutting, Finishing, and Inspection
The cast parts get separated from the runner system, gates get removed, and any excess material gets cleaned up.
Depending on what the component needs, this stage might also include:
- Grinding and surface finishing
- Heat treatment
- Shot blasting
- Precision machining
- Drilling and threading
- Dimensional inspection
For parts that need tighter tolerances than casting alone can deliver, Precision Machining Services step in to finish specific surfaces and features.
A final inspection then checks dimensions, surface quality, and anything else specified for the part.
Why Manufacturers Choose Investment Casting for Complex Parts
The biggest reason investment casting gets picked over other methods usually comes down to one thing: detail.
It reproduces geometries that would be difficult or expensive to machine from scratch, and with the right design, it can cut down significantly on how much machining is needed afterward.
Some of the advantages worth mentioning:
- Handles complex geometries well
- Delivers good dimensional accuracy
- Captures fine surface detail
- Works well for intricate parts
- Reduces machining requirements
- Offers flexibility across materials
- Fits a wide range of industrial applications
Basically, when a component’s design and detail actually matter, investment casting tends to be the process that delivers.
Keeping Quality Under Control Throughout the Process
Quality checks matter at every single stage here – a flaw in the wax pattern, an inconsistency in the ceramic shell, or a problem during pouring can all end up affecting the final part.
Manufacturers typically rely on a mix of methods to catch issues early, including:
- Wax pattern inspection
- Ceramic shell inspection
- Visual inspection
- Dimensional measurement
- Casting defect inspection
- Non-destructive testing, where needed
- Final machining and dimensional checks
Simulation tools also help here – running a casting simulation before production begins can flag filling or solidification issues in advance, giving manufacturers a chance to adjust the design or process before anything is poured.
The Full Journey: Wax to Finished Part
Put together, the whole investment casting process looks like this:
Component Design → Wax Pattern → Pattern Assembly → Ceramic Shell → Dewaxing → Shell Firing → Metal Pouring → Cooling → Shell Removal → Cutting & Finishing → Inspection → Finished Part
Every stage feeds into the next, and none of them work in isolation. Pattern design, material choice, shell quality, pouring control, finishing, and inspection all have to line up for the final casting to actually be reliable.
Final Thoughts
It’s a little remarkable, honestly, that a process starting with something as simple as wax ends up producing metal components with this much precision. Along the way, that wax pattern gets built up in ceramic, melted away, replaced with molten metal, cooled, cleaned, machined, and checked – every step shaping the outcome a little further.
Because it captures detail so well, investment casting has earned a permanent place across a wide range of industrial applications. And with the right process control and inspection in place, it consistently delivers parts that hold up to demanding design and performance requirements.
FAQs
1. What are the main steps in the investment casting process?
It runs through creating the wax pattern, assembling it, building the ceramic shell, removing the wax, firing the shell, pouring metal, cooling, removing the shell, finishing, and final inspection.
2. Why is it called the lost-wax process?
Because the original wax pattern is melted out and lost before the metal ever gets poured – the ceramic shell is what’s left behind to shape the casting.
3. What materials work with investment casting?
Stainless steel, carbon steel, alloy steel, and aluminium alloys are common choices, selected based on what the component actually needs to handle.
4. What kinds of parts suit investment casting best?
Anything where detail and dimensional accuracy matter – think industrial machinery, pump and valve components, automotive parts, and similarly intricate engineering pieces.
5. Does investment casting still need machining afterward?
Not always. Some parts come out close enough to spec that machining isn’t necessary. Others need it for specific holes, threads, or tolerances that casting alone can’t quite reach.
6. How does investment casting manage such complex shapes?
It comes down to the wax pattern – it captures fine detail and complex geometry before it’s melted away, and the ceramic shell preserves that shape right up until the metal is poured.
Also Read: How Metal Casting Keeps Heavy Machinery and Infrastructure Running